


Ok, so the hardware has been installed and I already moved the chassis into the technical cabinet of my house (have to keep the girlfriend happy), but before I can start with the installation I first want to ensure the basics are in place.
First thing to configure is the IPMI connection, as this will be my initial point of connection as I don’t have any keyboard/mouse and monitor connected to the chassis. To connect the first time you need to find the assigned IP as this is configured by default with DHCP. After finding out the IP address, use your favorite browser to connect to the webpage.

As the site is protected with a self-signed certificate (which is not trusted y default), a warning message appears. Click on Advanced and proceed to <ip-address>. Now the login page appears and you can authenticate using the default credentials (ADMIN/ADMIN).

First thing I do is to change the default credentials. For this, select Configuration | Users.

Select the ADMIN user and click Modify User

Check the box Change Password and provide your new password (twice). Click Modify

Now assign a static IP to your IPMI. Go to configuration | network.

Provide a hostname, a static IP address and click Save. After this is done, your connection will drop (as the IPMI got a new IP address), so you need to reconnect using the new IP and your new credentials.

Now you need to download the Nutanix Community Edition from the Nutanix .NEXT forum. At the time of writing the latest release is Nutanix Community Edition 5.11.2.

The blog post by Angelo Luciani contains a heap of information that should get you started, but for my own reference I will detail the steps I did myself to get everything up and running.
First download the required binaries (Disk Image-based Full Install & Prism Central Deployment)

As I don’t want to use the USB drive as boot device, the host is equipped with a SATA DOM, I need to divert a bit from the standard procedure.
First I need to create a Linux LiveCD (Knoppix). I’ve downloaded the ISO to my Mac and fired up Terminal. First thing is to find the attached volume:
diskutil list

We need to unmount the target volume using the following command (this is specific to my case!):
sudo diskutil unmount /dev/disk4s2

Now I can “burn” the ISO to the USB drive using the following command:
sudo dd if=KNOPPIX_V8.6.1-2019-10-14-EN.iso of=/dev/rdisk4 bs=1m

NOTE: To speed up the process an ‘r’ signifier is placed in front of the disk identifier. The ‘bs=1m’at the end is to set the blocksize, again to speed up the process. After 15 minutes my LiveUSB has been created:

Meanwhile I copied the Nutanix CE image to a second USB drive, and I can start preparing the SATA DOM.When connected to the IPMI console, I will use the iKVM/HTML5 console to manage the installation. To start the console, go to Remote Control | iKVM/HTML5

Press the button to launch the iKVM/HTML5 and manage the server remotely.

A new browser window will open allowing you to remote control the host. Before I start the host I ensured both USB Drives are inserted. Click on Power Control and select Set Power On

The host will power on:

As I inserted the USB Drive before the host will boot from the Knoppix Live CD (as there are no other boot partitions).

As the Linux environment is started, I opened the file manager and browsed to the USB Drive holding the CE image. Right-click on the USB Drive and select Open in Terminal

Now we need to prepare the SATA DOM with the downloaded image as described in the “Getting Started with Nutanix Community Edition” Article (this can take some time)

After almost 10 minutes the SATA DOM has been prepared.

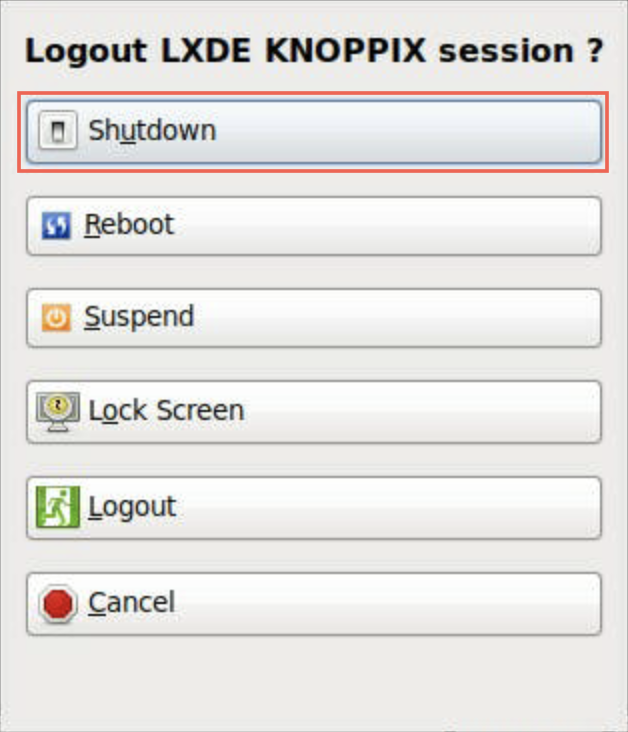
Now we need to shutdown the host and remove the USB drives before we can start installing Nutanix CE. Select Logout in the Start Menu

Select Shutdown, the host will shutdown.
Remove both USB Drives and power on the host again (via Power Control | Set Power On)

The host will boot using the prepared SATA DOM. When the Acropolis install image is loaded the following screen appears. Select the first option to start the installation.

After the image is loaded, you can start the installation by logging on with the user install

The installer will ask which keyboard layout you want to use. As I prefer the US International one, I will select that one and click Proceed

The installer will continue and ask you to provide the network information and accept the end user license agreement. Use static IP addresses (as recommended). You have to provide the IP addresses for the host and the CVM. As I’m running a single-node cluster, select the box so the installer will create this automatically. Provide a DNS server that can resolve public URL’s. Read-through the EULA (scroll down all the way to the end, otherwise the installer will revert), select Accept and click Start

The installation will start and soon enough I see the last message: “Waiting for the Nutanix Controller VM to start up….”

Success! Almost there, some small configs to be done and we’re good to go. Hit Enter to return to the login prompt and login with the default credentials (root | nutanix/4u).

Using the browser I go to https://192.168.2.15:9440 to open the Prism Console. Logon with the default credentials (admin | nutanix/4u)

First time you logon you’re required to change the password, so I did

After changing your password you will be redirected to the login screen where you need to provide your updated credentials:

Now I needed to provide my Nutanix credentials to access the cluster.
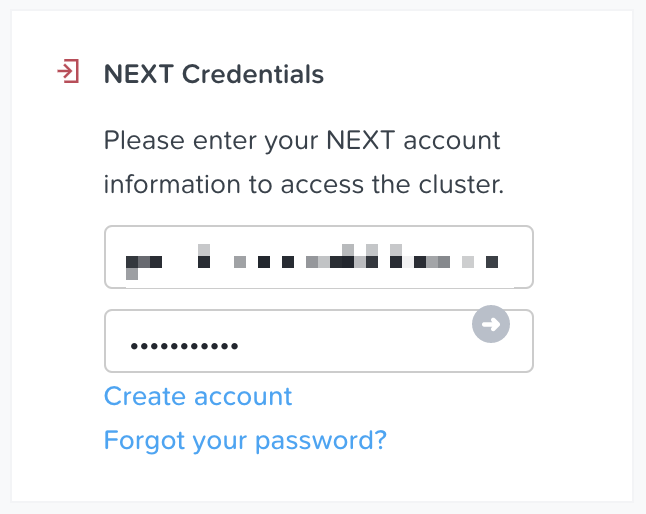
It will validate your account, check if pulse is enabled and provide you with the single pane of glass for Nutanix CE

So the installation of Nutanix Community Edition is pretty straightforward, download the image, prepare your device, provide some network information and off you go. As I’m pigheaded and didn’t want to use an USB drive, but the SATA DOM,I diverted from the standard so this was costing me a bit more time, but hey job done.
NEXT up: Basic Configuration, Prism Central
What should do if you have 4 host, and you want to create a cluster?
Hi fbifido,
a four node cluster can be created by logging onto on e of the CVMs and run the cluster create command “cluster -s cvm_ip_addrs create”. Replace the cvm_ip_addrs with a comma separated lists of your CVMs. (more info: https://portal.nutanix.com/#/page/docs/details?targetId=Nutanix-Community-Edition-Getting-Started:com-cluster-config-multinode-manual-ce-t.html)
Awesome sauce man. This was helpful since I was hitting every road block with the ISO installer possible! Thanks man!!