


Browsing the internet I stumbled upon phpipam.net – an open source IP Address Management (IPAM) tool, based on php with a MySQL database backend. Of course there are more alternatives -paid & free-, but I found this one interesting enough for my homelab.
Prerequisites
First off I need to provide a VM where this can be installed. I will start with a simple VM based on CentOS 8, where phpIPAM will be installed.
The following steps are also explained on https://phpipam.net/phpipam-installation-on-centos-7/ (although below procedure differs a bit as I choose Cent OS 8 instead of Cent OS 7)
First set the correct locales to be used on the VM. I only define English (US) as I tend to run my whole environment in this locale.
vi /etc/environment

LC_ALL=en_US.utf-8
LANG=en_US.utf-8

Installation
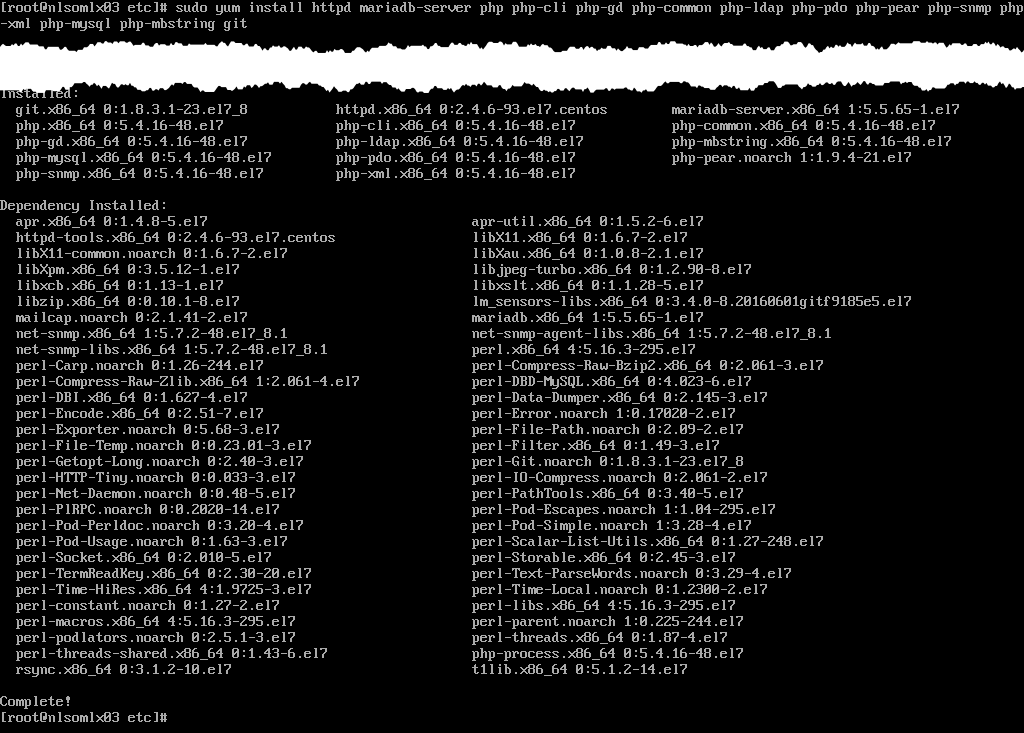
Now I can install the required packages for phpipam to function:
- Apache
- MySQL
- PHP
sudo yum install httpd mariadb-server php php-cli php-gd php-common php-gmp php-ldap php-json php-pdo php-pear php-snmp php-xml php-mysqlnd php-mbstring git
Configuring: Apache
After the packages are installed I can configure Apache. First thing is to allow URL rewrites
vi /etc/httpd/conf/httpd.conf
<Directory "var/www/html">
   Options FollowSymLinks
   AllowOverride all
   Order allow,deny
   Allow from all
</Directory>

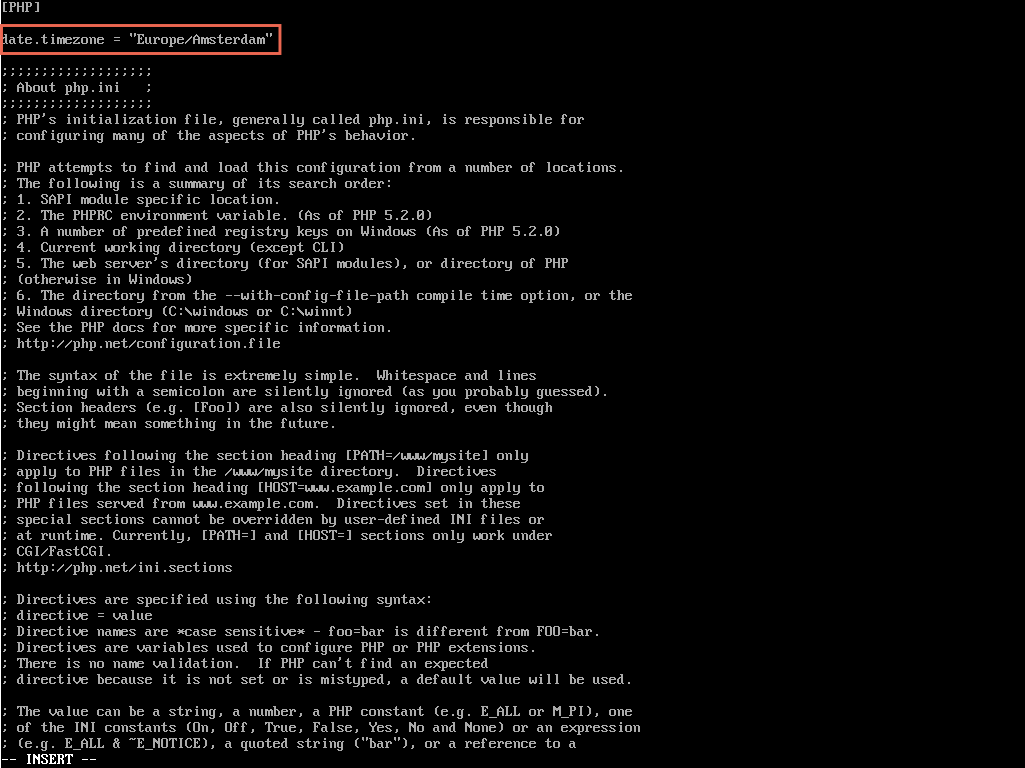
Set the correct timezone in php.ini
vi /etc/php.ini
date.timezone = "Europe/Amsterdam"
Start Apache
sudo service httpd start
sudo chkconfig httpd on

Ensure the firewall allows http/https traffice to the webserver
sudo firewall-cmd --permanent --add-port=80/tcp
sudo firewall-cmd --permanent --add-port=443/tcp
sudo firewall-cmd --reload

Configuring: MySQL (MariaDB)
As MySQL has been replaced by MariaDB in CentOS, this will be used. First I start MariaDB server and ensures it starts at boot time
sudo service mariadb start
sudo chkconfig mariadb on

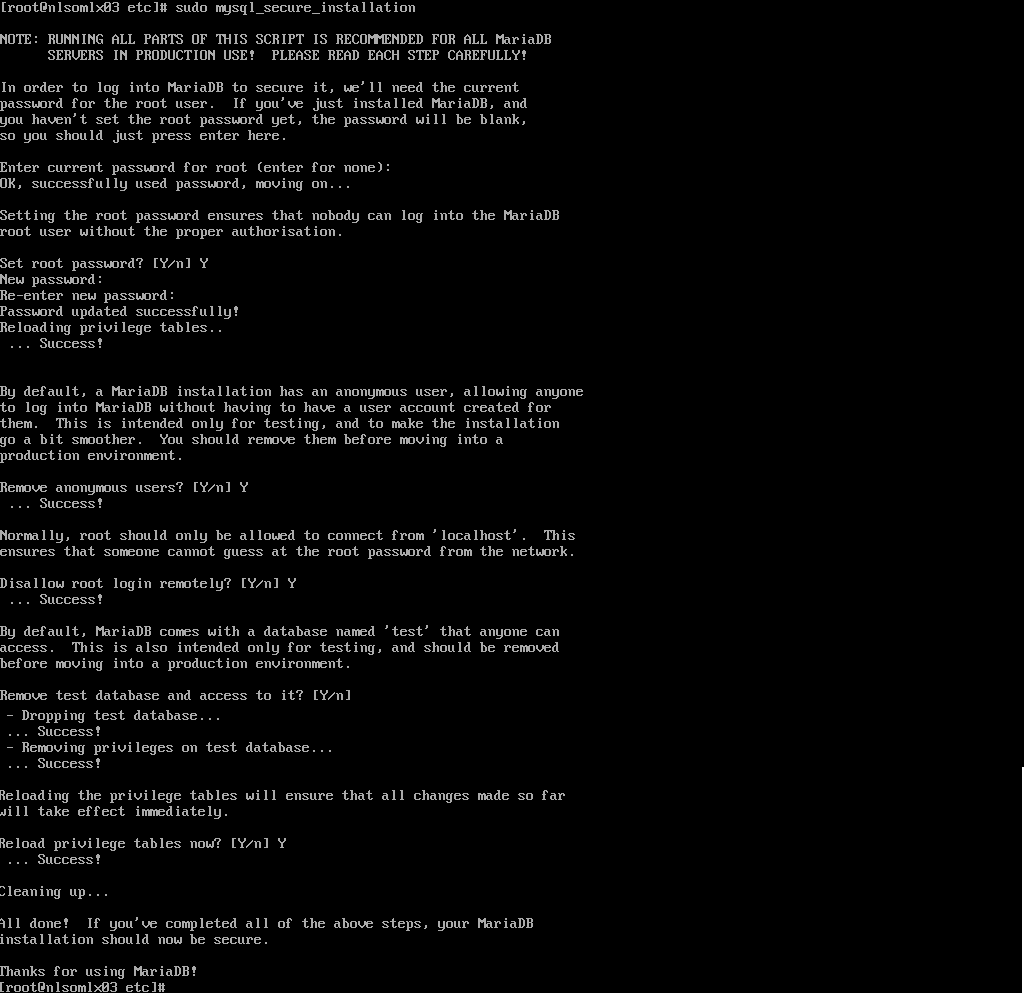
Only thing left is to harden the MariaDB Server
sudo mysql_secure_installation
Set root password [Y/n] Y
Remove anonymous users? [Y/n] Y
Disallow root login remotely? [Y/n] Y
Remove test database and access to it? [Y/n] Y
Reload privilege tables now? [Y/n] Y
phpIPAM
Install
Easiest way to install phpipam is to fetch the files directly from the Github repository (current MASTER version)
cd /var/www/html
git clone https://github.com/phpipam/phpipam.git

To ensure we can upload xls/csv imports (containing subnet information), the upload folders need to be made accessible:
sudo chown apache:apache -R /var/www/html/
sudo chcon -t httpd_sys_content_t /var/www/html/ -R
cd /var/www/html/phpipam
find . -type f -exec chmod 0644 {} \;
find . -type d -exec chmod 0755 {} \;
sudo chcon -t httpd_sys_rw_content_t app/admin/import-export/upload/ -R
sudo chcon -t httpd_sys_rw_content_t app/subnets/import-subnet/upload/ -R
sudo chcon -t httpd_sys_rw_content_t css/images/logo/ -R

Configure database connection
To configure the database connection we start with copying the sample config file to config.php used by phpipam
cp config.dist.php config.php

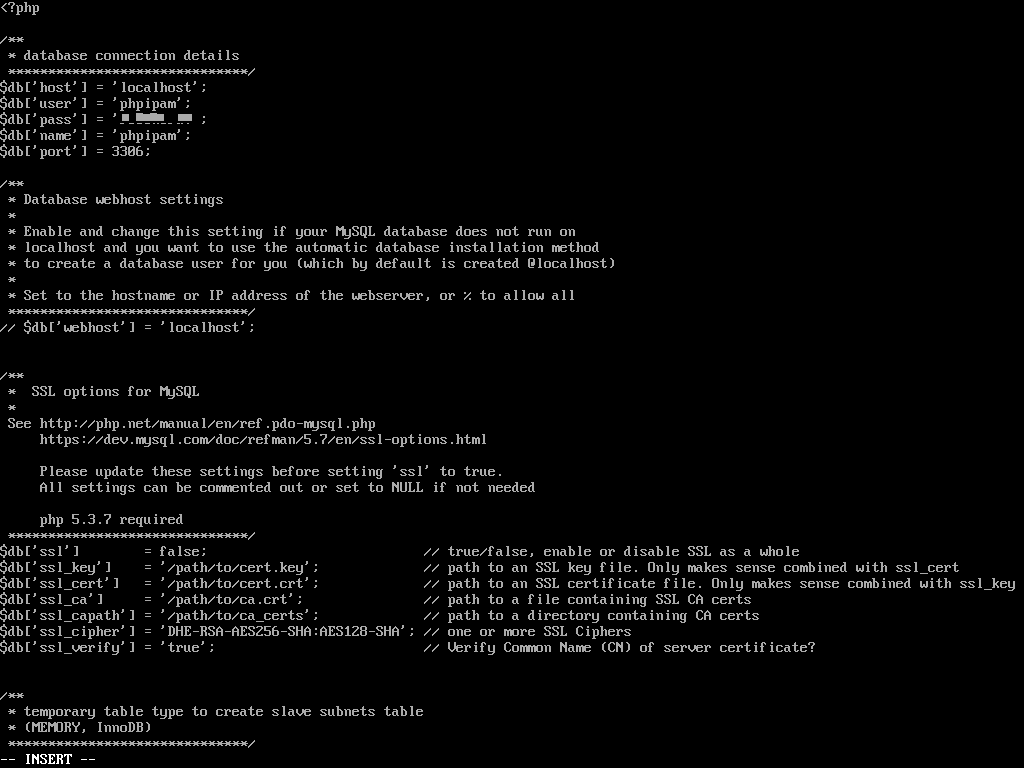
Edit the config.php file and provide the database connection details. Do NOT use the root credentials set earlier for hardening MariaDB
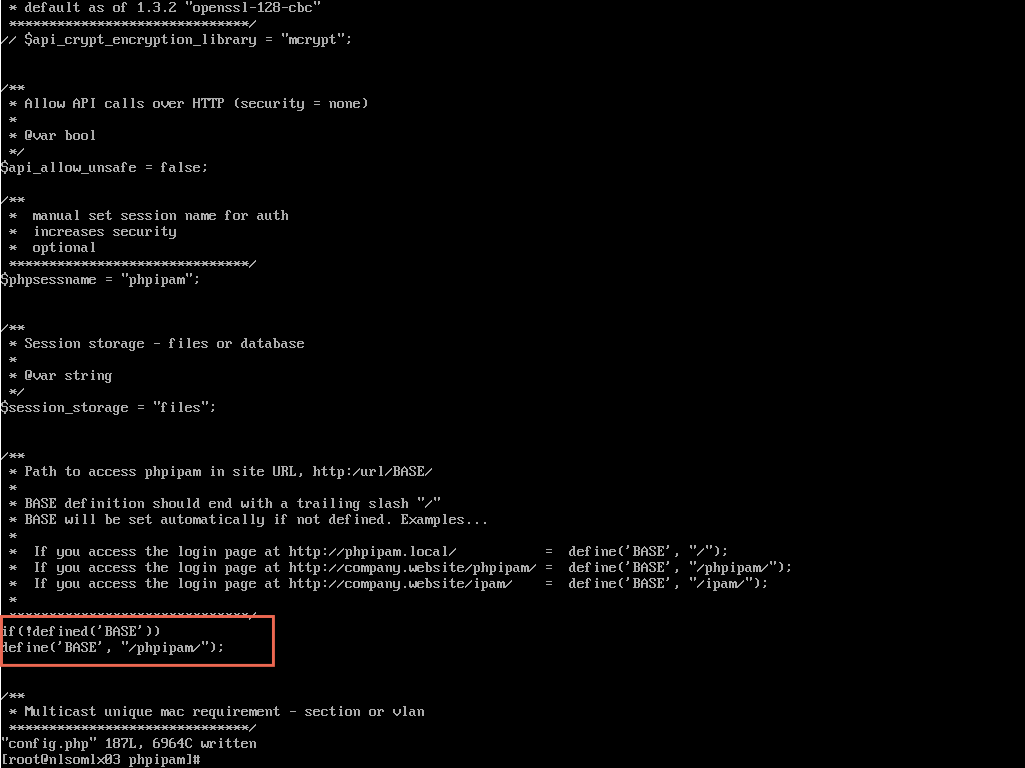
vi config.php
NOTE: if you installed phpipam in a subdirectory (i.e. phpipam) you also need to to change the BASE directive in the config.php file
To ensure phpipam can scan for active hosts, I will set Security-Enhanced Linux (SELinux) in permissive mode (meaning SELinux is enabled but not enforced):
getenforce
setenforce 0
getenforce

phpIPAM configuration
Now I can configure phpipam via the browser. I open my browser and go to the webaddress of my VM and select New phpipam installation

In the next step I choose Automatic database installation as I have all the credentials

I provide the MariaDB root credentials and click on Install phpipam database.

After a few seconds the database is installed and I click Continue

I provide an admin password and the Site URL and click Save settings

Now phpipam is setup I can login to the environment

Of course some final tuning needs to be done to have this to my liking. As I enable URL rewrites in the configuration I need to enable this also in the phpipam settings and I change the theme to white.

I enable/disable some features to my liking (ie. disabling Customers as this is for my own environment)

Okay, adding my nameserver (in order to resolve DNS names)

Now I can add my subnets and retrieve which IPs are reserved and what is still available. Here I need to take care that I select the correct Nameserver and to enable the following options before clicking on Add
- Check hosts status
- Discover new hosts
- Resolve DNS names

I will do a manual discovery first to ensure the subnet is populated

After a few seconds I get my results. Some DNS names are not resolved (related to my setup), but I can now Add the discovered hosts

After my hosts are added, I immediately see which IP’s are in use and what’s free. For my LAB environment this might be overkill but for any organisation a proper IPAM tool is important and this shows there is no reason why you can’t do it as there are free alternatives around. These kind of tools need to be setup once but will help you a lot in the future.

Last thing to do is to add 2 cron jobs to automatically scan the network for new or updated hosts.
crontab -e
15 * * * * /usr/bin/php /var/wwww/html/phpipam/functions/scripts/pingCheck.php
15 * * * * /usr/bin/php /var/wwww/html/phpipam/functions/scripts/discoveryCheck.php

There is a lot more to discover in this (LDAP integration, RBAC, Database backup, etc), but this should get you started.
Nice Article.
Could you please help me out how to configure SNMP on agent side, so we will get all queries:
get_system_info
get_arp_table
get_mac_table
From phpIpam.
What i get is only:
get_system_info: OK
Not the others Queries.
Installed on the client side :
sudo apt-get install snmp snmp-mibs-downloader
sudo apt-get install snmpd
config files:
/etc/snmp/snmp.conf
/etc/snmp/snmpd.conf
Other Queries error:
get_arp_table:
test-vm: Error in packet at ‘.1.3.6.1.2.1.4.22.1.3’: (noSuchName) There is no such variable name in this MIB.
oid: IP-MIB::ipNetToMediaNetAddress
get_mac_table:
test-vm:Error in packet at ‘.1.3.6.1.4.1.9.9.46.1.3.1.1.4.1’: (noSuchName) There is no such variable name in this MIB.
oid: CISCO-VTP-MIB::vtpVlanName.1
Hi sha,
not sure why this is happening. Didn’t get a time to check the same scenario.