


As you might have read in my last post I finally managed to install the latest Community Edition from Nutanix. Why did I do this?
Mainly because AOS and AHV are now similar to the commercial versions and can be upgraded via LifeCycle Manager (LCM) to the latest versions (to keep in sync with the release schedule of the commercial versions).
As I installed CE almost 5 months after the initial release there should be some updates ready. So how to do this?
Logon to Prism Elements via the browser and open LCM (Home | LCM). As I have only 1 node, I ensured no VMs (besides the CVM) are running, otherwise some of the upgrades will fail.
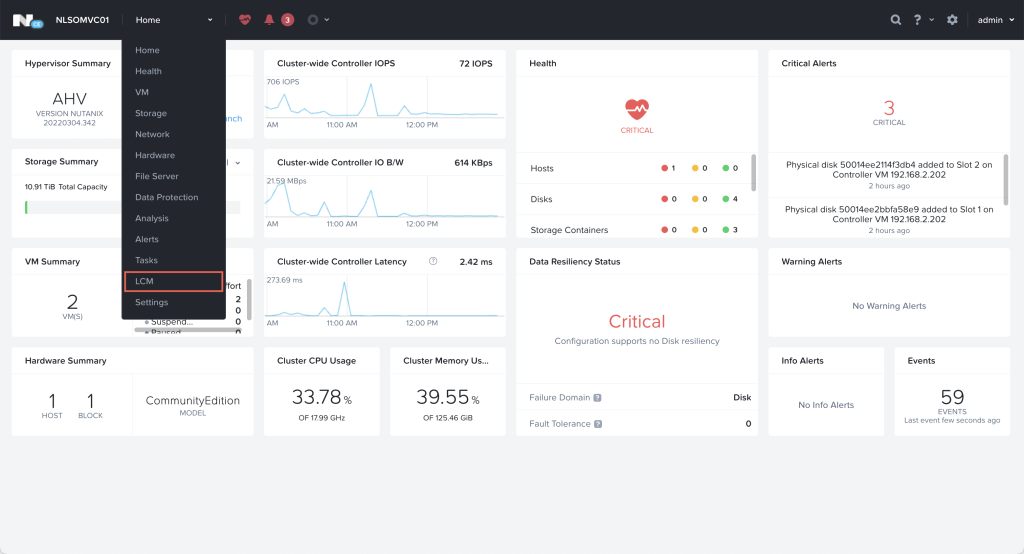
The LCM view opens on the Best Practices section.
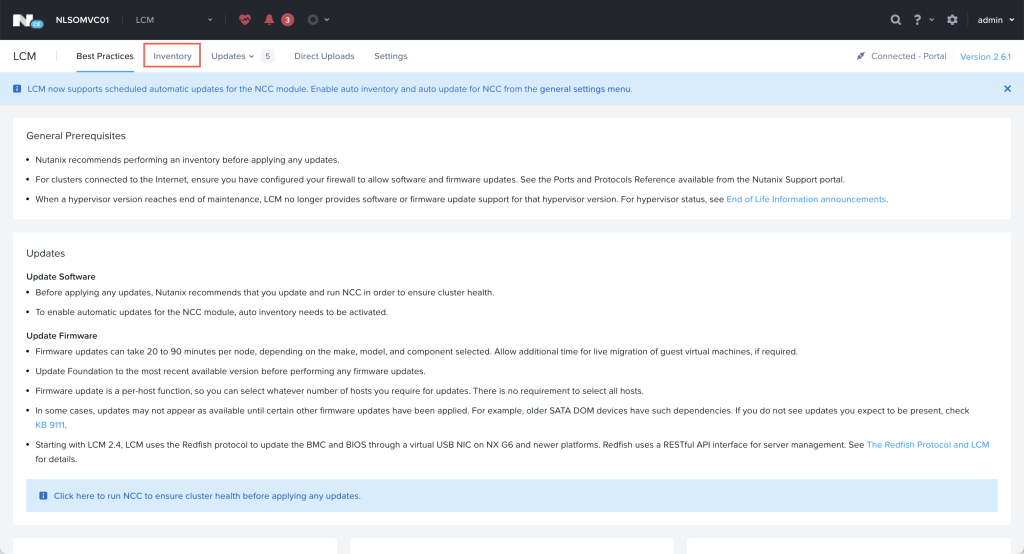
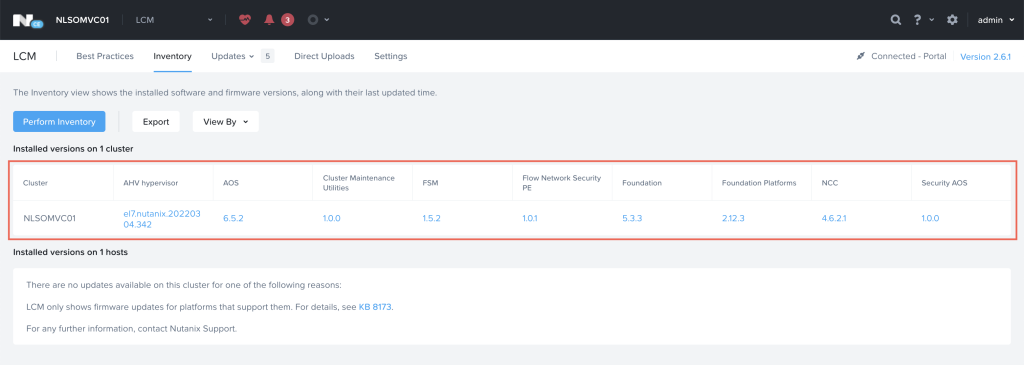
To start checking for updates I’ll go to the Inventory tab. This will show the current installed software versions. Click Perform Inventory to get the latest updates. This can take a few minutes.
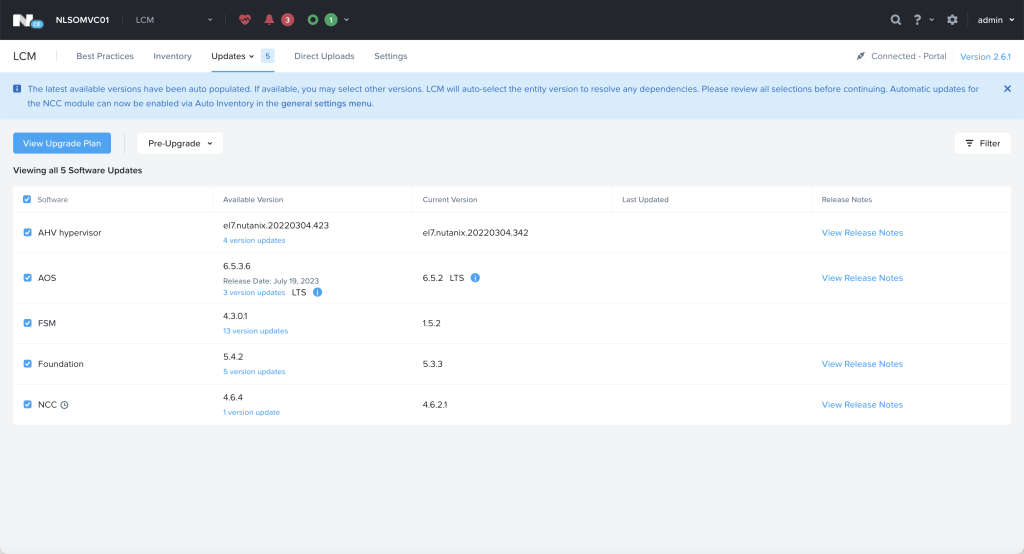
After the inventory is done, I check the updates tab, where I see some software updates. I select all and click on View Upgrade Plan.
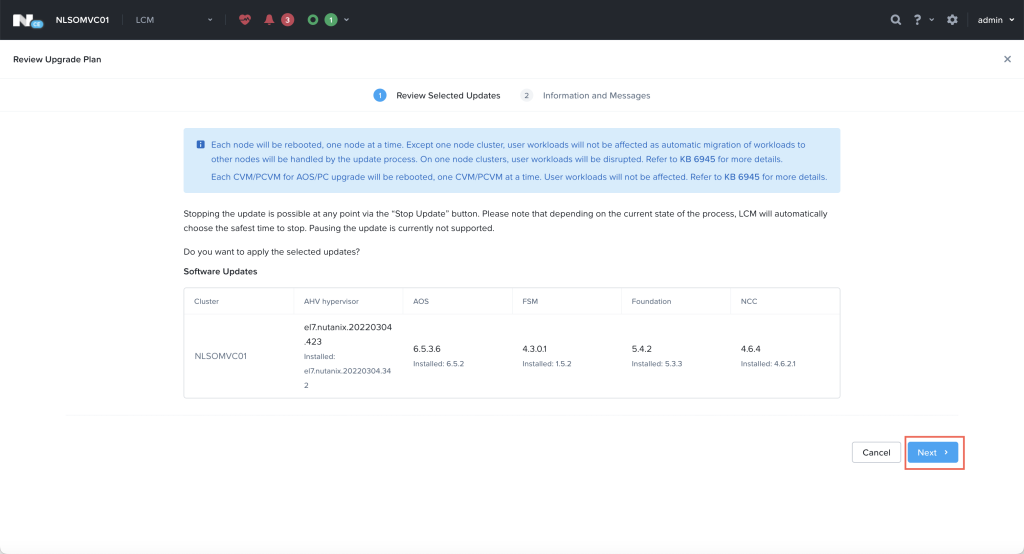
I can review the upgrade plan (what is being upgraded, what will happen) and click Next
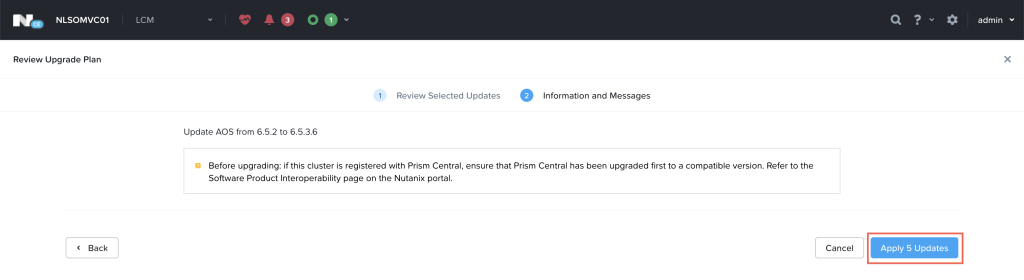
Another warning (ensure Prism Central is up-to-date), and I click Apply x Updates.
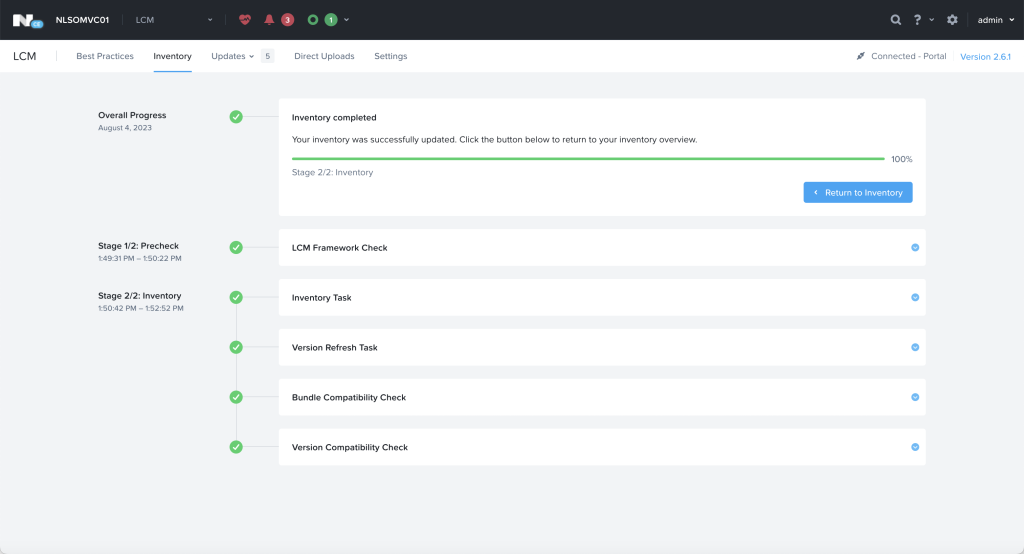
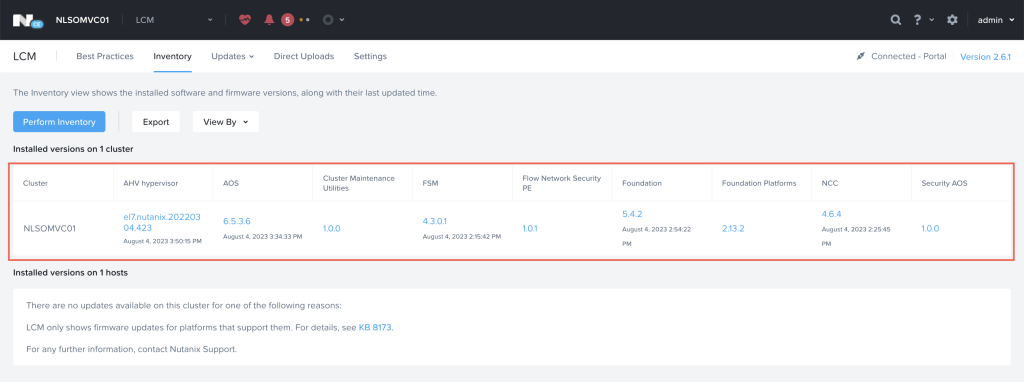
Depending on the selection this can take some time. Especially as I selected to update the foundation, AOS & AHV, that requires some reboots, it will take some time, but hey, you just have to start it and check back after it’s done. To verify the updates were applied successfully I check the Inventory in LCM and see the versions have been updated.
This is what I was expecting to see, so great work Nutanix with this new Community Edition!!